By Adelheid Hansen, Conservation Intern in the Departments of Antiquities and Applied Arts at The Fitzwilliam Museum. Graduated from the Ceramics and Glass Conservation Programme at West Dean College.
In conservation, an important principle is to protect an object from (further) damage. Conservators often have to find creative methods to ensure an object is not harmed by treatment.
One of my tasks as a conservation intern at the Fitzwilliam Museum in Cambridge was to conserve a 14 centimetres high Roman glass unguentarium (thought to have been used for perfume or oil), which was found in Cyprus and had entered the museum collection in 1888.
The unguentarium had many issues:
- There was a kidney-shaped area of loss with a sharp piece sticking out (fig. 1)
- There were several running cracks, one running halfway around the body! (fig. 2)
- There was iridescence. Iridescence, as beautiful as it can be, is a sign of degradation and can detach itself from the glass surface in the form of flakes
- There was dirt inside
- And last but not least, due to glass degradation, the remaining glass was extremely thin, as thin as, or even thinner than, an eggshell.


Roman glass usually consists of a mixture of sand, soda and lime. When buried in the earth and in contact with water, the soda can dissolve and leach out, causing degradation of the glass. When left long enough, the whole object could disintegrate and disappear.
Treatment plan
The running crack needed stabilising and also the sharp piece sticking out needed protection.
When glass is that thin, it is not an option to introduce an adhesive into the running crack, because it can make the crack lengthen and even split the vessel into two halves.
Therefore, we decided to try to stabilise the unguentarium by attaching a fill from the inside to the missing area. This way, the cracks would be supported and also the dirt on the inside would be protected. Dirt can tell a great deal about the history of an object, for instance about the area where it was found, or it could hold a residue of the previous contents of the unguentarium. When removed, this history is lost; therefore, we decided that the dirt should not be removed.
Japanese tissue with a coating was chosen to make the fill. Japanese tissue is strong and lightweight, so the weight of the fill would not cause further damage, and the coating would provide support for the Japanese tissue. This way it would be possible to make a strong and thin fill.
But since the glass was so extremely thin, no mistakes were allowed and attaching the fill had to be right the first time. Therefore, it was necessary to practise on another object.
Practice
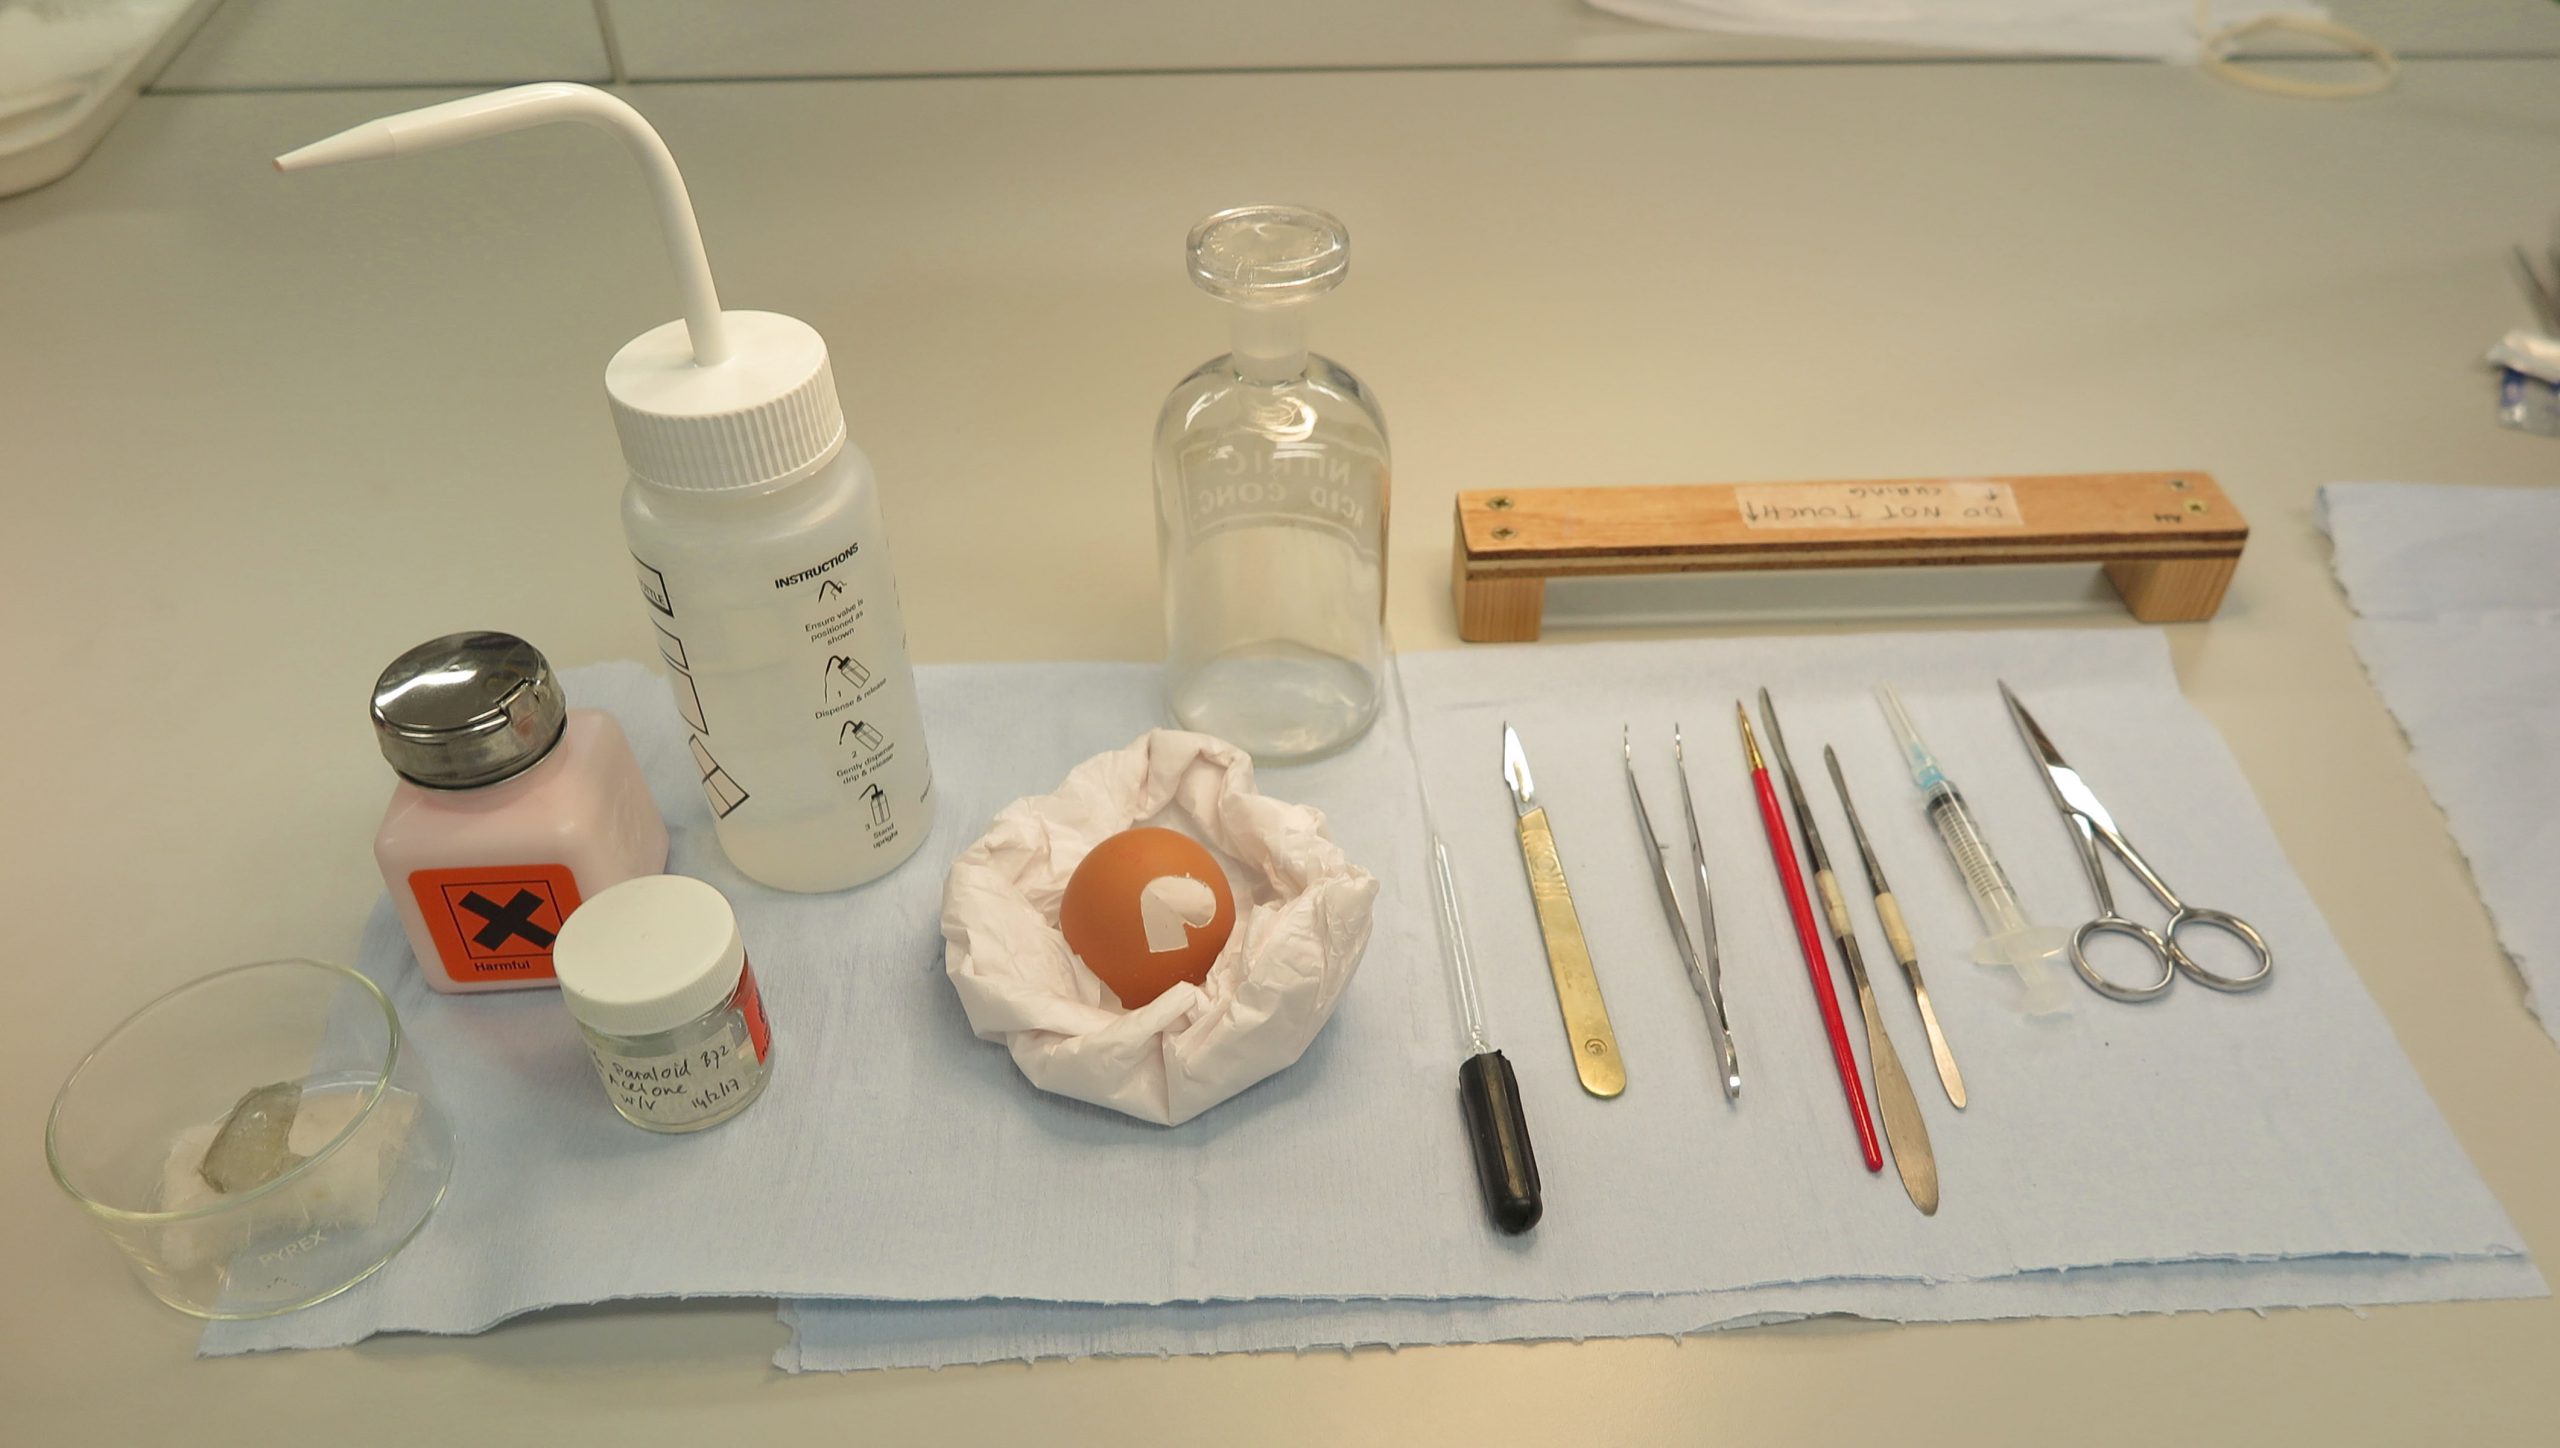
Finding a replacement object to practise on was not difficult, because the discussion about the glass being thinner than an eggshell inspired me to practise on an actual eggshell. After a few attempts resulting in broken eggshells, I managed to carve a similar shaped hole in the eggshell, to the hole in the unguentarium, using a scalpel (fig. 3).

I tested two adhesives to use as a coating on the Japanese tissue. Klucel G, a water-soluble adhesive, could not provide enough rigidity for the Japanese tissue. Instead, a 10% w/v solution of Paraloid B72 in acetone was used to make the coatings (fig. 4).

Next, I needed to develop a method for how to shape the Japanese tissue. Fortunately, I found a bottle in the lab that had a similar curve to the missing area of the unguentarium. I then applied de-ionised water to a piece of Japanese tissue with a glass pipette. The wet Japanese tissue was placed on the glass bottle and I carefully manipulated it in such a way that there were no creases in the paper (fig. 5). Care was taken not to stretch the tissue too far, as this would cause thin sections in the tissue. The bottle was placed on a radiator to accelerate drying time.

After the Japanese tissue had dried, I carefully removed it from the bottle. The tissue now had a curved shape. I then placed the now curved Japanese tissue on a Melinex (polyester film) sheet and applied a solution of 10% Paraloid B72 w/v in acetone with a glass pipette (fig. 6). After curing, new layers of the Paraloid B72 solution were applied in the same way, until the Japanese tissue had the right strength.

I cut the curved and coated Japanese tissue slightly larger than the missing area. Unfortunately, it proved to be impossible to insert the fill in one piece, and therefore I cut the fill into two halves.

The fill had to be lowered into the unguentarium and lifted up in order to be able to bond it behind the missing area (the surface on the outside of the bottle was too fragile to have adhesive applied to it). Therefore, I attached two sections of string to each half. First, I tested masking tape to attach the strings to the fills (fig. 8). However, masking tape would be difficult to remove while the fills were adhered to the glass. Even the slight force needed to remove the tapes could cause the glass to break. I also could not use solvents to remove the tapes as this could compromise the coating of the fill.

I then tested a solution of 5% w/w Klucel G in de-ionised water to attach the strings (fig. 9). Klucel G is soluble in water which would not compromise the coating, however, Klucel G proved not to be strong enough. Therefore, cyclododecane was used to attach the strings. Cyclododecane is a wax that will sublime over time and disappear, so no solvents or force would be needed to remove the strings. They could simply be left until they fell off.

For this part of the process, I needed an extra pair of hands. Julie Dawson kindly offered to help me. We frayed the ends of the strings to enlarge the area of contact. Cyclododecane was heated au bain-marie under extraction and was applied to the frayed strings on the fills with a brush. Each half of the fill now had two pieces of string attached and was ready to be attached behind the missing area.
The first half of the fill was lowered into the egg and then raised by gently pulling up the strings. One of us used acetone on a small brush around the edges of the fill to activate the Paraloid B72 and to adhere the fill to the egg, while the other kept the strings being pulled up. This process was repeated with the second half of the fill (fig. 10).


Treatment
The method proved to be successful and could now be executed on the unguentarium. Because all the stages of the treatment were rehearsed on the egg, attaching the fill to the real object went smoothly (figs. 12 and 13).


The end result was a stabilised unguentarium (fig. 14).
I thoroughly enjoyed the process of testing various options on an eggshell and finding a solution that was beneficial to the unguentarium. I am very grateful to the conservation team of the Fitzwilliam Museum for giving me this learning opportunity.

Acknowledgements to:
- Jennifer Marchant, for supervising my project
- Julie Dawson, for helping me with the cyclododecane
- Elsbeth Geldhof, for teaching me about the many uses of Japanese tissue in conservation
- Edward Cheese and Gwendoline Lemée, for providing the Japanese tissue.
